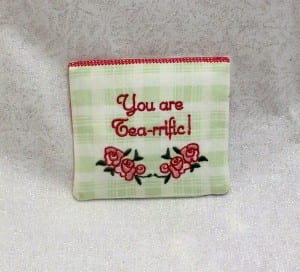
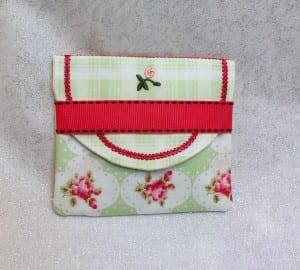
Have you ever wondered what goes into making an in the hoop design? I can’t talk for other digitizers, but I can tell you that it’s a lengthy process, even if the project looks easy to the purchaser. See this little tea pocket? Cute, isn’t it?
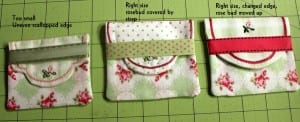
Looks simple enough, doesn’t it? Well, first of all, you have to find the right graphics. I was very fortunate – Laurie of doodlepantry.com had just the perfect ones. Actually, her graphics were the starting point for these little pockets. I found though that they did not work very well in their entirety, the way they were drawn. After a first stitchout, I had to change how much of her graphics I used. I loved Laurie’s scalloped edge in the back, but… alas it did not look good once stitched. What to do? How was I going to close this great little pocket? Velcro? No, that would involve too many extra steps; snaps? Well, not every sewer has a way of making them easily and I did not want folks to have to go and buy one just for this little pocket. So, here came the idea of the strap in the back. I think it turned out nicely, don’t you? After 5 stitchouts, I finally had what you see in the photos above.
Here is a progression photo of three of the 5 stitchouts:
Now that I am happy with the outcome – off it goes to at least 3, sometimes as many as 6 testers. When they all can produce a satisfactory result – as shown by photos of their stitchouts – then we finally put up the design for sale. So, you can be assured that when we put a design up for sale – it’s been tested multiple times, often by multiple people on different machines.
We want you to know that you can buy from us with confidence! Oh, the little tea pocket is part of a set I am working on: Tea for You. It will have a set of new tea mug rugs and a tea mug tote (mostly done in the hoop). Hoping this will make a great gift for Moms (Mums)! 🙂 Stay tuned for more.
Happy Stitching!


